How to Sew a Simple Tote Bag from Fabric Scraps
Turn leftover fabric into a lined, sturdy tote bag with reinforced handles — a beginner-friendly sewing...

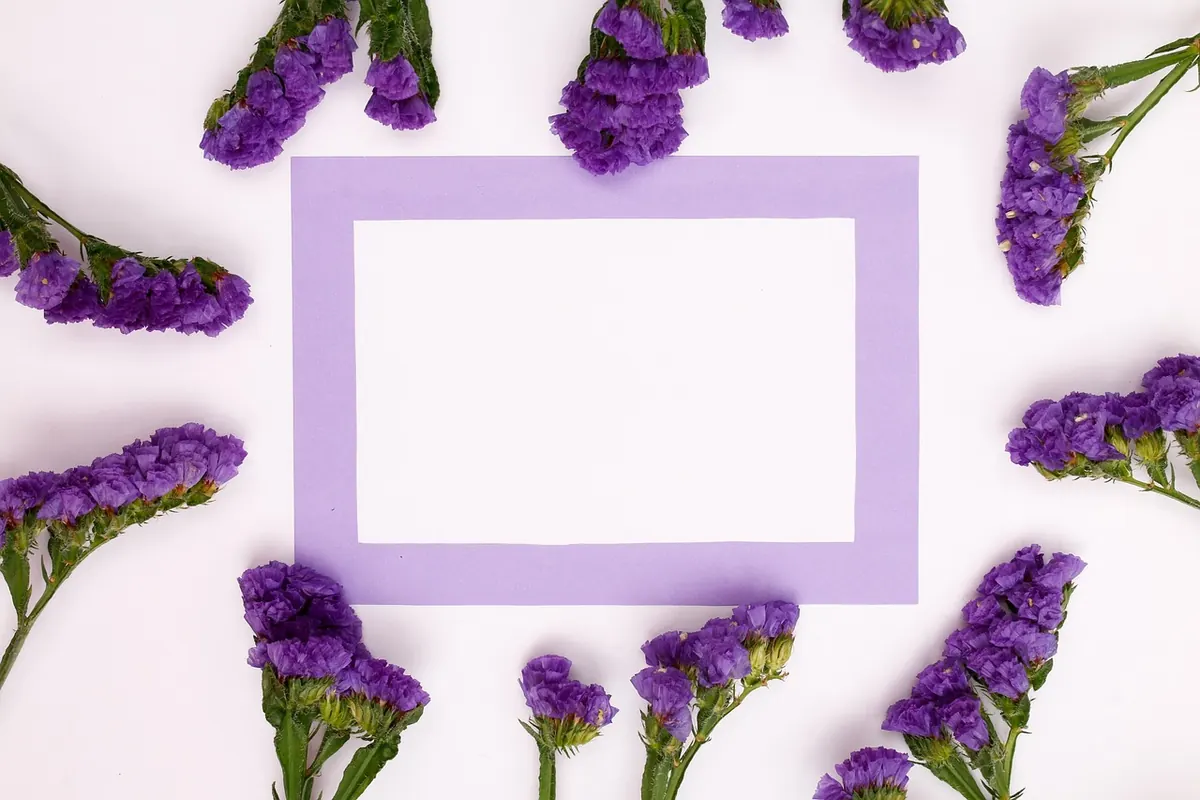
A pressed pansy you grew from seed will outlast most things on your walls. It costs almost nothing, needs no equipment you don't already own, and gets better with practice. The trick is patience while the flowers dry and a little care when you mount them — get those two right and the framing takes ten minutes.
Here is a method that works for garden flowers, from picking to hanging.
The best candidates are thin, flat and single-layered. Reliable choices include violas and pansies, cosmos, nigella, forget-me-nots, buttercups, hardy geraniums, aquilegia, delphiniums, sweet peas, fern fronds, ornamental grasses and honesty seed heads.
Fiddly candidates are anything with a fat, fleshy centre — daffodils, tulips, most succulents. You can still press them, but you will need to remove the thick calyx or ovary and dry the petals separately, then reassemble the flower on the mounting board. That is a job for a rainy afternoon, not a first attempt.
Pick on a dry morning once the dew has lifted. Damp flowers are the single biggest cause of brown, mouldy results. Take more than you need, because some will always disappoint, and cut with a short length of stem plus one leaf where it fits. A flower with a stem and a leaf looks intentional in a frame; a lone petal looks like an accident.
An iron on a low setting with no steam, over blotting paper, will dry small flowers in minutes. A microwave press does something similar. Both are fine for casual projects, but the results tend to be paler, flatter and more prone to curling at the edges. If you are framing something properly, give it the three weeks.
Pressed flowers keep for months, sometimes years, if they stay flat and dry. Sandwich them between sheets of acid-free paper, slide them into a folder or a large book, and keep them somewhere cool and out of direct light. Avoid the kitchen and the bathroom, where steam does quiet damage over time. From this point on, handle everything with tweezers — the oils on your fingers shorten the life of a pressed flower.
Work on acid-free card. Ordinary board contains acids that yellow both the flowers and the mount, and there is no way to undo that later. Plan the layout while everything is dry: move pieces around with tweezers until the spacing feels right, then photograph the arrangement with your phone so you can put it back if you lose your nerve.
Glue sparingly. A tiny dot at the thickest point of the stem, or at the centre of the flower, is enough. Too much soaks through and stains the card. When the arrangement is finished, press the whole board under a weight for an hour or so before it goes into the frame.
Then give it breathing room. Flowers should never touch the glass, because moisture collects there and the petals stick and rot. A mount with a deep rebate, or small spacers behind the mount, solves this. Seal the back of the frame with tape to slow the exchange of humid air, and hang it away from direct sunlight, which fades colour faster than anything else. UV-filtering glass helps, but it does not make a south-facing wall safe.
A single specimen in a generous mount, labelled by hand with the plant's name and the date you picked it. A grid of nine small flowers in identical frames. A row of grasses and seed heads at slightly different heights, if you want something quieter. Or one flower from each month of the growing year, added to as the season goes on.
If a flower browns, it was damp when it went into the press, or the paper was not changed soon enough. If the colours drain within a year, sunlight is the likely culprit — move the frame rather than give up on the method. Mould means humidity, and the piece should come down, be removed from its mount and be remounted on fresh card.
Start with something forgiving: a viola, a fern frond, a few grasses. Once you have a frame on the wall that has held its colour through a winter, you will start picking differently in the garden — noticing which flowers are thin enough to press, which stems are worth keeping, and which plants look better flattened than they ever did growing.
Photo: tamanna_rumee / Pixabay
Turn leftover fabric into a lined, sturdy tote bag with reinforced handles — a beginner-friendly sewing...
A beginner-friendly macramé plant hanger for small UK flats, with three simple knots, exact cord lengths,...
A practical walkthrough of transforming an old chest of drawers with chalk paint, covering cleaning,...