DIY Macramé Plant Hanger for Small UK Flats
A beginner-friendly macramé plant hanger for small UK flats, with three simple knots, exact cord lengths,...

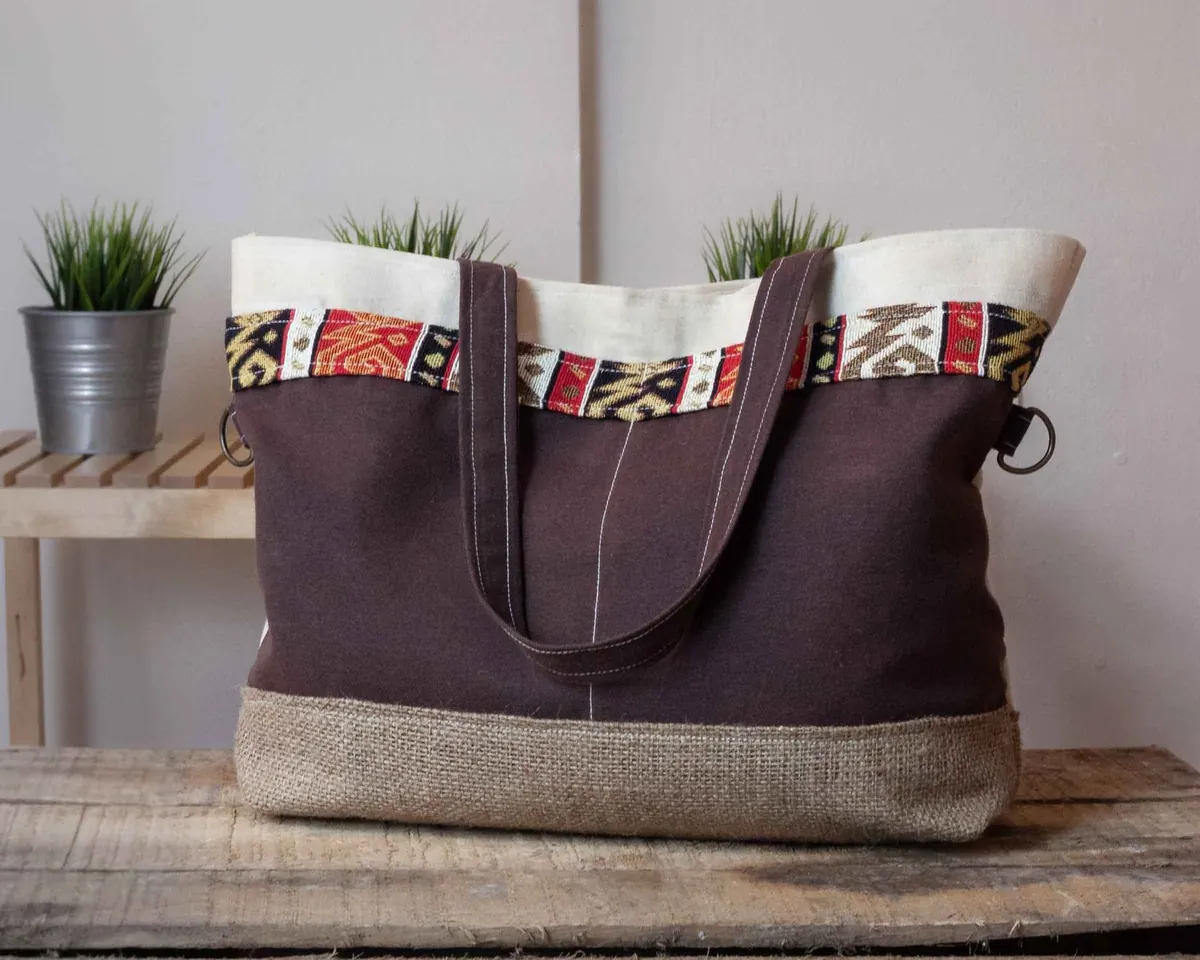
Every sewist ends up with a drawer of odds and ends: a strip of curtain lining, half a fat quarter, the back of a shirt that went to the rag bag. A tote bag is the perfect destination for them. It needs very little fabric, it forgives a pieced, patchy look, and you finish with something you will actually use — a lined bag with handles that stay put when you load it with library books, a water bottle and the shopping.
Nothing here is specialist. If you can sew a straight line and press a seam, you can make this bag.
A note on needles: if you are working with canvas, ticking or upholstery offcuts, swap to a jeans needle and lengthen your stitch slightly. A fresh needle costs very little and prevents a great deal of swearing.
Start by washing and pressing everything. Scraps that have been sitting in a bag are creased, and creases lie to you when you are cutting. Press each piece flat, then sort by weight: keep flimsy fabrics together and heavier ones together, so the panels behave consistently.
Decide how you want the bag to look. There are no rules here, but a few approaches work particularly well:
Sew your scraps together with a 1 cm seam allowance, pressing each seam open as you go. Do not sew the whole panel and then press — you will get tucks and ripples. Work in rows, press, then join the rows. When each panel is slightly larger than you need, give it a final press and set it aside.
This bag finishes at roughly 38 cm wide, 40 cm tall with a 10 cm boxed base — a good everyday size. From your pieced outer fabric, cut two panels 40 cm × 45 cm. From the lining, cut two more at the same size.
For the handles, cut four strips 70 cm × 8 cm from your scraps or webbing. If you are piecing handles from small scraps, join short lengths end to end until each strip is long enough, and press the seams flat as you go. Pieced handles are surprisingly strong as long as the seams are pressed open and the strip is folded so the seams sit inside.
If you are using interfacing, fuse it to the two outer panels now, following the manufacturer's instructions. This is the step most beginners skip, and it is the one that makes the difference between a bag that slumps and one that stands up on the table.
Place the two outer panels right sides together. Pin along both sides and the base, then sew with a 1 cm seam allowance, backstitching at the start and finish. Do not sew the top. Press the seams open, then repeat with the lining panels — but leave a 12 cm gap in the middle of the lining's base seam. You will turn the bag through it later.
Now box the corners. With a panel still inside out, flatten one bottom corner so the side seam sits exactly on top of the base seam, forming a triangle. Measure 5 cm down from the point, draw a line straight across, and sew along it. Trim the excess to about 1 cm and finish the raw edge with a zigzag stitch or pinking shears. Repeat on the other three corners — both outer corners and both lining corners.
Finish your seam allowances as you go rather than at the end. Inside a lined bag, the lining seams are the ones on show every time you reach for your keys.
Take one handle strip and fold it in half lengthways, wrong sides together, and press. Open it out, fold both long edges to meet the centre crease, press again, then fold in half once more. Topstitch close to both long edges. You now have a sturdy strap roughly 2.5 cm wide. Repeat for the remaining three strips.
Pin two strap ends to the right side of one outer panel, raw edges level with the top, positioning them about 8 cm in from each side seam. Make sure the straps are not twisted — this is the single most common mistake, and it is worth laying the bag flat and checking before you sew. Baste each strap end 6 mm from the top edge.
Repeat with the second outer panel and the remaining two straps. Shortening the stitch length to about 2 mm and sewing slowly over the thick layers will help your machine cope. If the needle struggles, turn the handwheel by hand for the first few stitches.
Turn the outer bag right side out and leave the lining inside out. Push the outer bag inside the lining so the two are right sides together, matching the side seams and the strap positions. Pin all the way around the top edge and sew with a 1 cm seam allowance.
Pull the whole bag through the gap in the lining base. Push the lining down inside the outer bag, poke the corners out neatly with a point turner or the blunt end of a pencil, and press the top edge well. Topstitch 3 mm from the edge all the way round; this closes the top neatly and adds a second line of stitching through the handle ends.
For genuine peace of mind, finish each handle base with a small square and a diagonal cross, stitched through all layers. It takes two minutes per handle and means the weight of the bag is carried by the fabric rather than by a single line of stitching.
Finally, slip stitch the gap in the lining closed, press the bag once more, and give the base a firm press so the boxed corners sit flat.
Write the measurements on a scrap of paper and keep it with your sewing things — the second bag takes half the time of the first. From here, the variations are easy: reduce the panels to 25 cm square for a gift bag, add a patch pocket to the lining before you assemble it, or add a magnetic snap between the outer and lining layers at the top edge.
If you are new to sewing, make this bag once in plain fabric before you attempt a scrappy version. You will learn where the fiddly bits are — the boxed corners, the handle placement, the turning — without worrying about whether your patchwork lines up. Then raid the scrap drawer properly, and make the next one out of everything you could not bear to throw away.
Photo: SericoWork / Pexels
A beginner-friendly macramé plant hanger for small UK flats, with three simple knots, exact cord lengths,...
A practical walkthrough of transforming an old chest of drawers with chalk paint, covering cleaning,...
A practical guide to making an autumn wreath from foraged leaves, vines and berries, with simple drying...