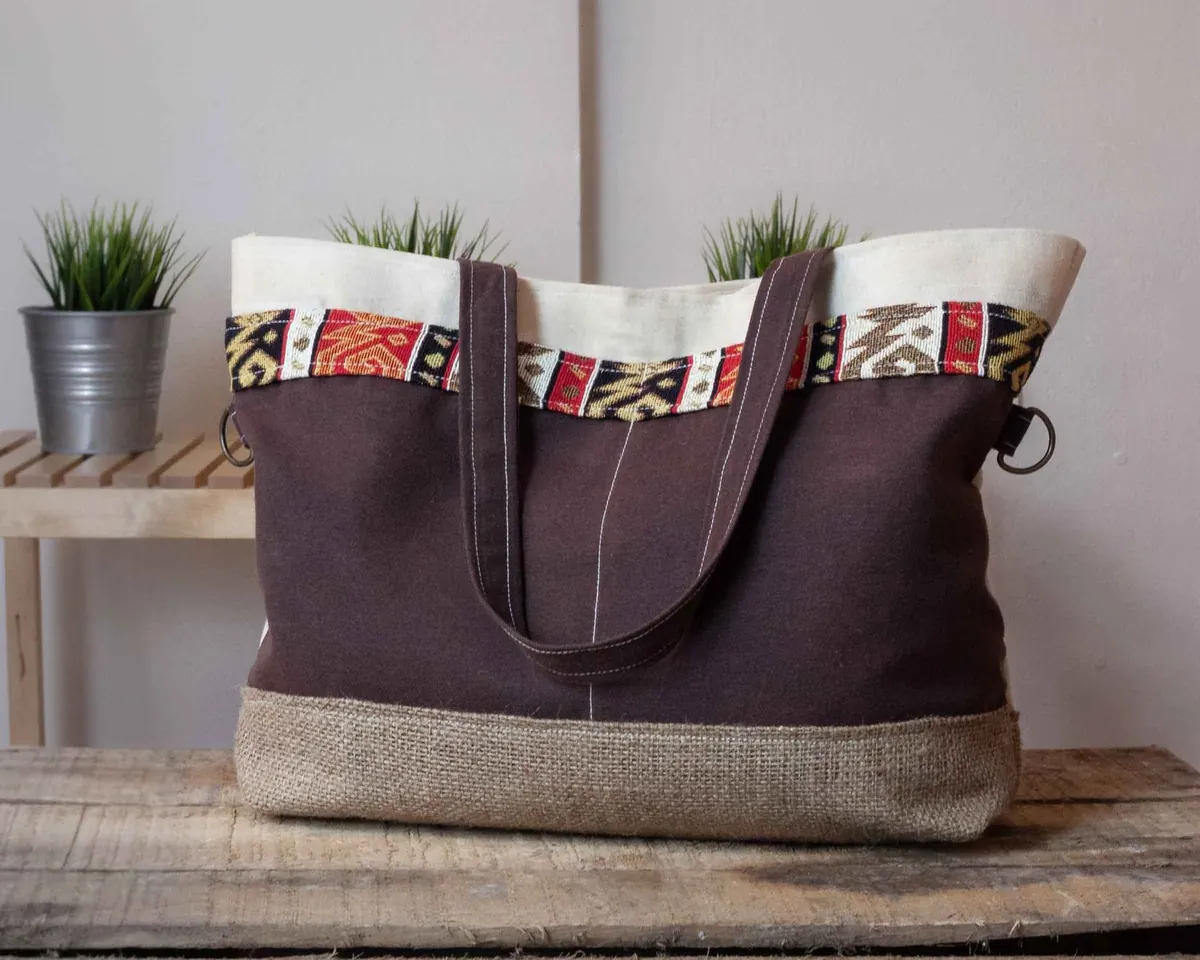
How to Sew a Simple Tote Bag from Fabric Scraps
Turn leftover fabric into a lined, sturdy tote bag with reinforced handles — a beginner-friendly sewing...


There's something quietly satisfying about a mismatched teacup. The handle sits at an odd angle, the pattern has faded from too many washes, and it costs next to nothing in a charity shop. Fill it with soy wax and a cotton wick and it becomes a proper little candle — the sort of thing that gets wrapped in tissue paper and given as a present.
This tutorial covers the whole process: melting, scenting, wicking and setting. It's a good first project because the equipment list is short, the wax is forgiving, and once you've got the knack you can make three or four in an afternoon.
Hold the cup up to the light and look for hairline cracks, crazing — the web of fine lines in old glaze — or a chipped rim. Any of those means put it back on the shelf. Warm wax can open a crack further, and a cracked candle is a candle that leaks.
Size matters more than you'd think. A wide, shallow cup gives a big melt pool and burns well; a tall, narrow one can tunnel down the middle and leave a ring of wasted wax. Something around 7cm across and 6cm deep is the sweet spot.
You also need to know how much wax to melt. Fill the cup with water, tip that water into a measuring jug, and note the millilitres. Multiply by 0.9 for a rough wax weight in grams, then take off a little because you won't fill right to the rim. A cup holding 150ml of water takes somewhere near 120–130g of flakes. Melt a bit extra; there's nothing worse than running short at the pouring stage.
Wash and dry the cup thoroughly, then warm it gently — a minute in a low oven, or a rinse with hot tap water followed by a proper dry. Pouring hot wax into cold china is the quickest way to crack it.
Set the jug in a saucepan with a couple of centimetres of water in the bottom. The water shouldn't touch the base of the jug. Bring the pan to a gentle simmer and let the wax melt slowly.
Stir occasionally with the skewer. When the last flakes have gone and the wax is clear, check the temperature.
Let the wax cool to about 55°C before adding fragrance. Go hotter and the scent burns off; go much cooler and the oil won't blend properly. Use roughly 6–10% fragrance oil by weight, so around 8–12g for a 125g candle. Start at the lower end, especially with anything punchy like clove or cinnamon.
Pour the oil in and stir gently for a minute or two — slow and steady rather than whisking. The wax will go slightly cloudy, which is normal. Give it one more stir just before pouring.
While the wax cools, fix the wick. A dab of melted wax or a glue dot under the metal tab holds it to the base, and a wick holder or two chopsticks laid across the rim keeps it upright and centred. A wick that leans will burn unevenly and look messy.
Then pour in one slow, steady stream into the middle of the cup, stopping about a centimetre below the rim. Don't scrape the jug — there's often grit at the bottom. If a dent or sinkhole appears as the wax sets, a hairdryer on a low setting will smooth it out. Top up if it's sunk more than a few millimetres.
Leave the candle somewhere level and out of the way for at least 24 hours. Trim the wick to about 5mm, then leave it for a week if you can. Soy wax carries scent better after a few days of curing, and the difference between a candle burned on day one and one burned on day seven is easy to notice.
The first burn matters most. Light it and let the melt pool reach the edge of the cup before you put it out — usually one to two hours, depending on the width. That sets the pattern for every burn afterwards. Keep sessions to four hours at most, and trim the wick each time.
A teacup isn't a candle jar, so it hasn't been tested the way a purpose-made container has. A few habits keep it safe:
If you plan to sell your candles, there's more to do: safety data sheets and allergen information from your fragrance supplier, correct labelling under UK chemical and product rules, and public liability insurance. Check with your local trading standards team or a specialist adviser before listing anything for sale.
Once one works, the natural next step is a set. Line up four cups of similar size, melt enough wax for all of them in one go, and scent them in turn — dividing the melted wax between jugs is the easiest way to get four different scents without washing up between each pour.
Wrap finished candles in tissue, tie with a ribbon, and add a small tag with the scent and a burn-time reminder. A set of three mismatched teacups, each from a different charity shop, makes a proper present, and the whole process is repeatable enough that you'll be hunting the crockery shelves with a measuring jug in your bag before long. Keep one back for yourself.
Photo: congerdesign / Pixabay
Turn leftover fabric into a lined, sturdy tote bag with reinforced handles — a beginner-friendly sewing...
A beginner-friendly macramé plant hanger for small UK flats, with three simple knots, exact cord lengths,...
A practical walkthrough of transforming an old chest of drawers with chalk paint, covering cleaning,...